
Introduction
This guide demonstrates how to set up lights correctly to capture high-quality images that require minimal editing.
Lighting is the most important element of a photograph. After all, the word "photograph" means "light picture." Anyone can create a photo studio with a clean background and proper lighting. Use this guide to select and effectively use the right lighting equipment and start creating outstanding guide images.
-
-
Proper lighting is key in creating high-quality guide photos. The better your lighting, the less work you have to do in post-processing.
-
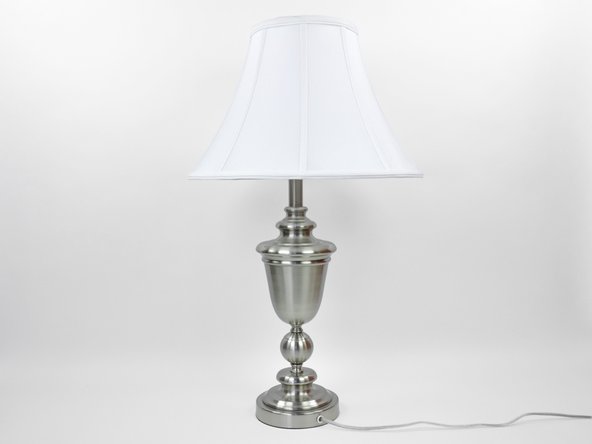
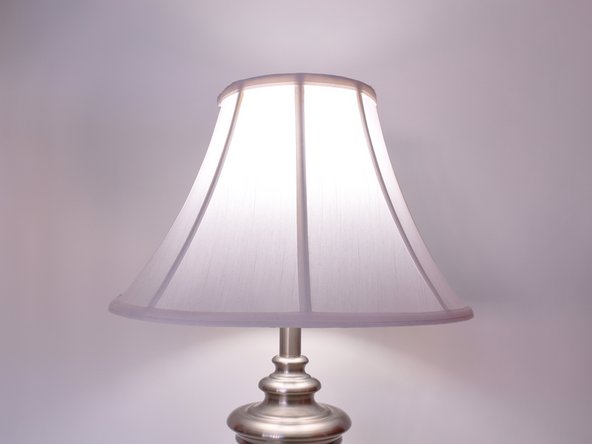
A standard household lamp on a table provides light, but it is weak. Also, you cannot adjust which way it points. You need something a little more specialized.
-
-
-
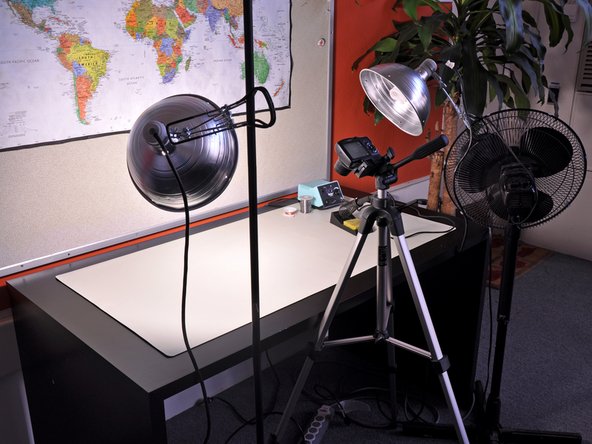
The light fixtures for your photo studio should direct light in a specific direction and be easily adjustable. To provide ample lighting and eliminate shadows, you should use at least two lamps to illuminate your subject.
-
The fixture shown is relatively inexpensive, clamps onto any object, and can be found at most home improvement and hardware stores.
-
-
-
Selecting the proper light bulbs is just as important as selecting the correct light fixtures.
-
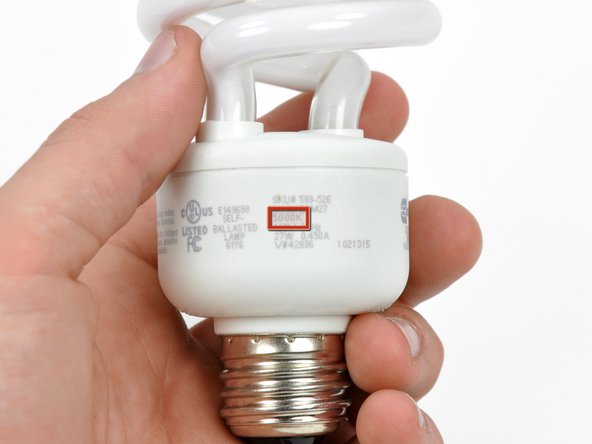
Aside from the correct output rating, the most important aspect of your light bulbs is the light temperature, usually stated in thousands of Kelvin (K).
-
For guide photos, use 5000K or 5500K "daylight" bulbs for a bright white light.
-
-
-
Before we look at correct lighting, let's look at some not-so-good lighting.
-
This household lamp has a 2700K "soft white" compact fluorescent (CFL) bulb in it, just like you would use in your home.
-
Though these bulbs create a comfortable atmosphere for watching television or reading a magazine, they cast an orange hue onto whatever they illuminate. This will require added removal work in the post-processing of photos.
-
-
-
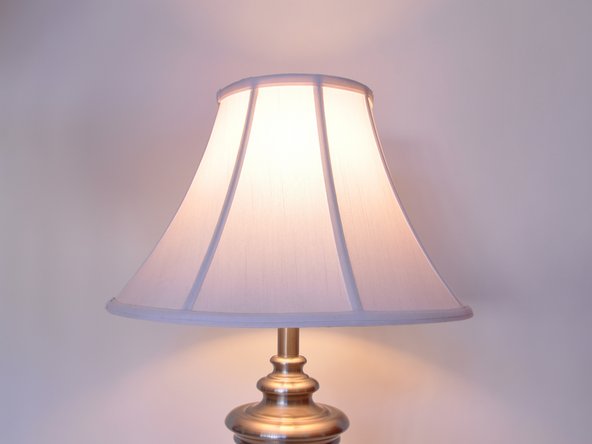
Replacing the weak CFL with a 5000K bulb produces a much brighter and whiter light.
-
This light results in a much nicer stock photo and will reduce the amount of work required in the post-processing of photos.
-
-
-
You do not have to be picky about what kind of table you use, but you should be mindful of what you place on top of the table to use as a backdrop.
-
A clean white working surface is ideal for taking photos, as colored backgrounds are often distracting. Also be aware that colored surfaces around your photo studio can reflect their colors onto your subject.
-
In addition to covering the table, be sure to cover the surface behind the table. This is important since, in all likelihood, you likely will not be taking every single shot with the camera pointed straight at the table.
-
-
-
Once you have a good working surface and proper lighting, you are ready to start taking great guide photos!
-


Cancel: I did not complete this guide.
One other person completed this guide.

2 Comments
Wow… what a great tips !!!
This is an awesome concept and creative idea. Thanks for sharing with us.
The Articles are great