Introduction
This guide demonstrates ways to edit images within Media Manager.
-
-
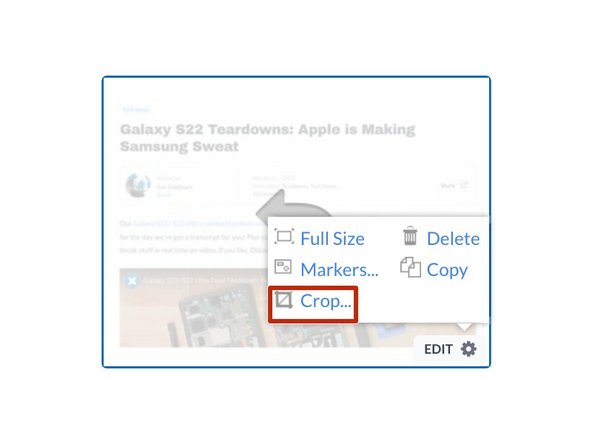
In the Step Editor (or Media Manager) to see the different editing options, hover over the image, and then click the Edit gear icon in the lower-right corner of the image's thumbnail.
-
A box will open above the symbol giving you the option to:
-
View the image Full-Size.
-
Edit the images with Markers.
-
Crop the image.
-
Delete the image.
-
Copy the image to your Media Manager.
-
-
-
Select the Markers to access the markup editor.
-
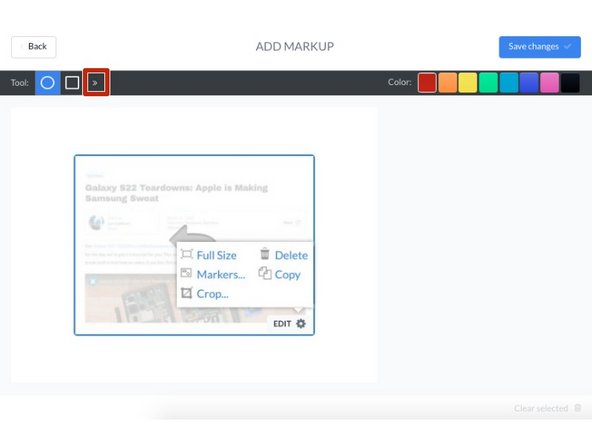
Select the markup shape in the Tool section.
-
Use a different color for each thing you label and link it to the corresponding bullet point.
-
-
-
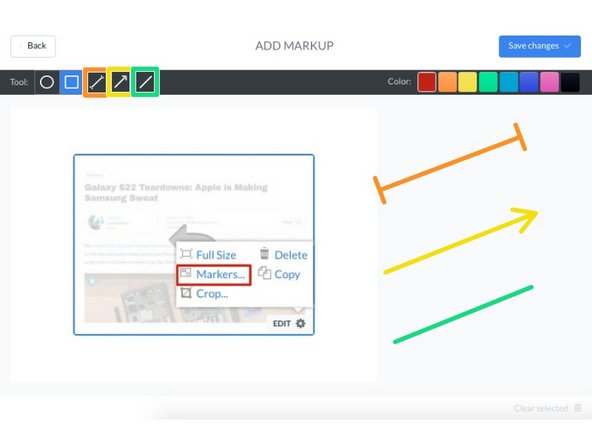
Additional shapes can be accessed by selecting the arrow to the right of the Tools section.
-
Gap Markers can be used for showing the gap between two objects, or even to indicating where to measure.
-
Arrow Markers can be used to convey direction, such as whether to screw a bolt in left or right.
-
Line Markers can be used for anything—even creating shapes!
-
-
-
Right Arrow Key: Move the marker slightly to the right.
-
Left Arrow Key: Move the marker slightly to the left.
-
Up Arrow Key: Move the marker slightly upwards.
-
Down Arrow Key: Move the marker slightly downwards.
-
Shift + Arrow Key: Increase the size of the marker in that direction.
-
"+" or "-" Key: Directionally decrease or increase the size of the marker from the center.
-
-
-
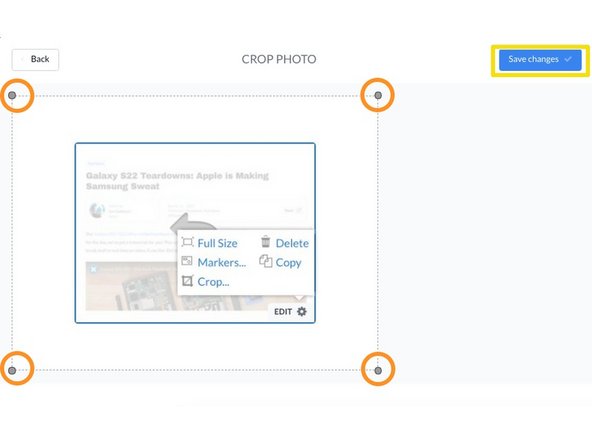
Click Crop to adjust your image size.
-
Click and drag any of the four corners to crop the image.
-
Click on the Save Changes button to implement the change.
-
Cancel: I did not complete this guide.
3 other people completed this guide.


