Introduction
This guide demonstrates how to edit pictures guide for guide production.
Pictures rarely come out perfect and will require some editing to make them usable for guides. This guide reviews the general tools and techniques that improve the quality of a picture.
-
-
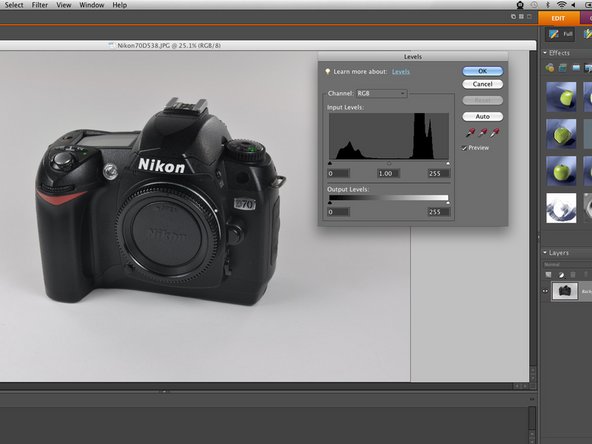
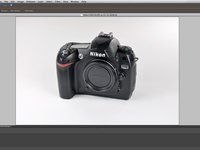
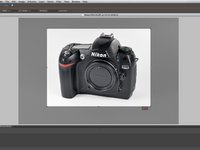
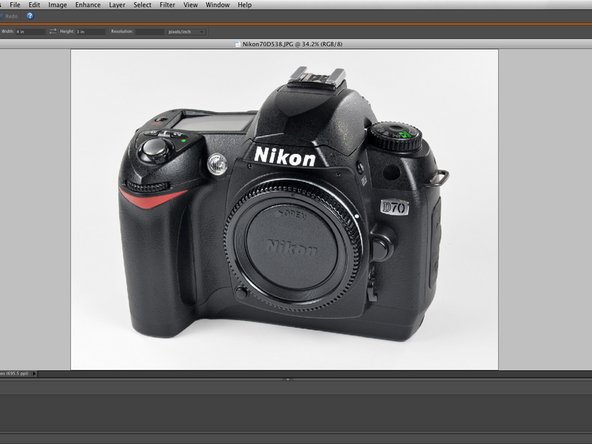
Here is a bare bones photo of a Nikon D70 camera. The picture is pretty good, but it could be improved in a few areas.
-
The photo is too dark. It has incorrect colors. Additionally, the photo has some physical imperfections, and it is not in the correct aspect ratio.
-
Adjusting the light levels is a good way to start editing your photos. Adjusting the light levels allows you to balance whites and blacks properly.
-
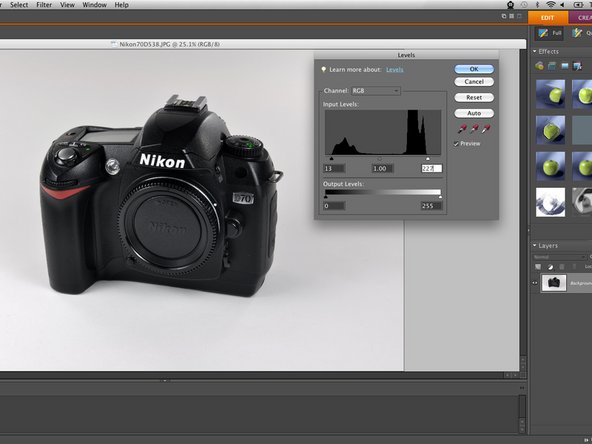
Note that each side of the level graph contains multiple peaks. A good rule of thumb is to shift the light level sliders to just before the peaks on their respective sides.
-
-
-
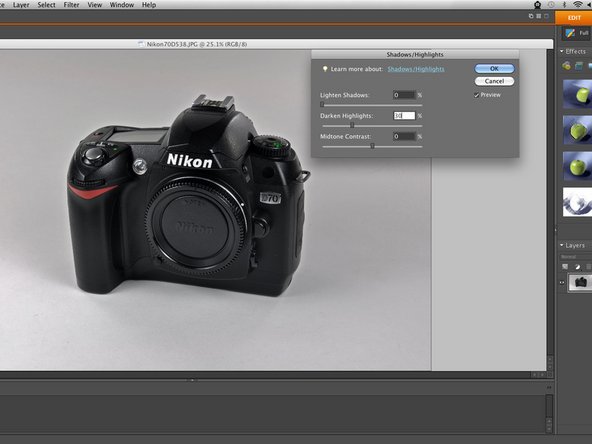
Adjusting the light levels may not be enough to even out all the darks and lights in a picture. To further correct the picture, adjust the shadows and highlights.
-
Adjusting midtone contrast increases or decreases the difference between darks and lights in your photo. You can see in the first image that there is a greater difference between the two than before adjusting the mid-tone contrast.
-
Darkening highlights is useful for darkening particularly light spots in a picture without having to select that specific area.
-
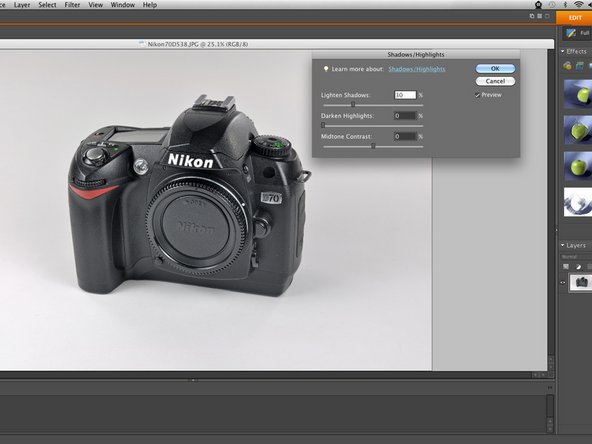
The Lighten Shadows tool is used for lightening particularly dark spots. Spots that contain detail (like the Nikon logo over the lens) may appear solid black; lightening the shadows brings out the detail.
-
-
-
Brightness and contrast adjustment is an effective tool to perfect the lighting of your photo.
-
Increasing brightness is the equivalent of adding light to the entire picture. The first picture shows an overly brightened picture, revealing exaggerated effects.
-
Contrast, like mid-tone contrast, will simultaneously adjust darks and lights relative to each other. The second picture shows a high contrast setting which has caused the darks to become very deep, and the whites create a glare.
-
For this picture, a slight increase in brightness is enough to properly light the object of the picture.
-
-
-
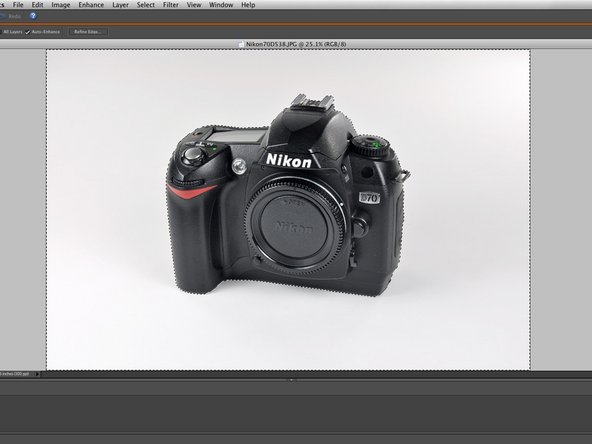
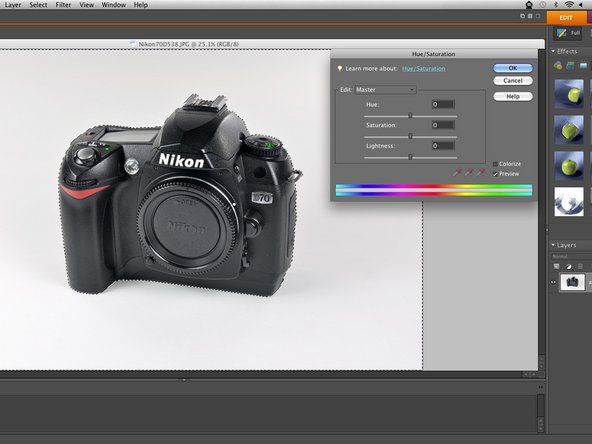
Editing the entire picture will not always achieve the desired results. For example, the background in this picture is dark and contains undesired colors, so we will select everything but the camera.
-
-
-
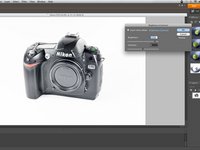
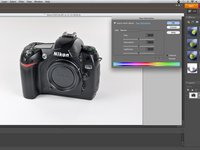
Adjusting color hues and saturation is an efficient way to correct color errors in the background or a specific spot in the photo.
-
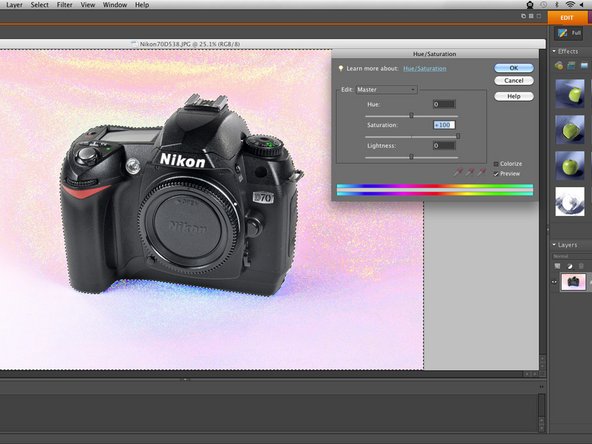
Over saturating the "main" color exposes what colors are present, thus allowing you to adjust the desired colors.
-
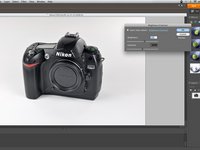
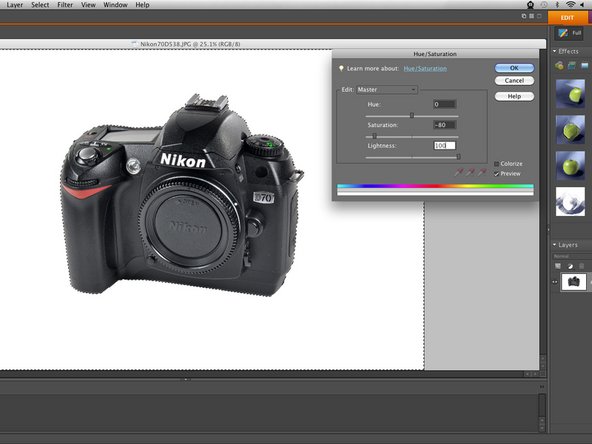
In this case, we want a white background, so we drastically reduce the saturation and increase the lightness under main to easily reduce all backgrounds colors.
-
-
-
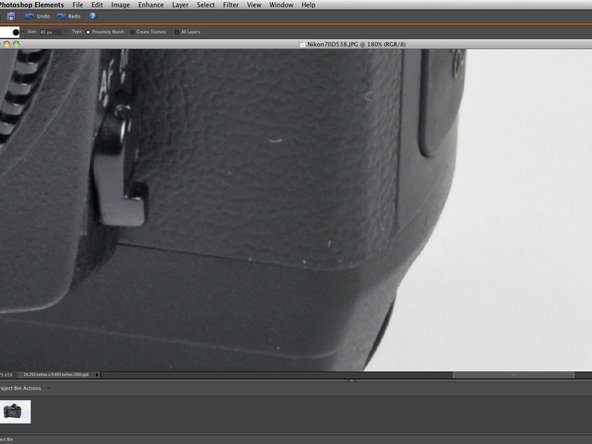
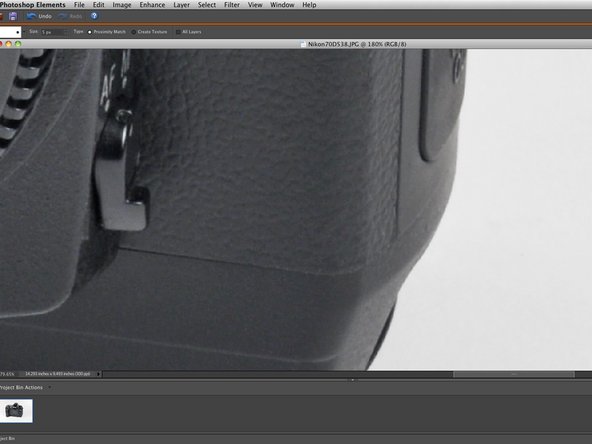
Not all work environments are perfectly clean. Subjects may be blemished with hair, dust, dirt, or other imperfections. If possible, major offenders should be removed.
-
Spot Healing and Clone Stamp tools are particularly useful for erasing imperfections without greatly affecting textured surfaces.
-
-
-
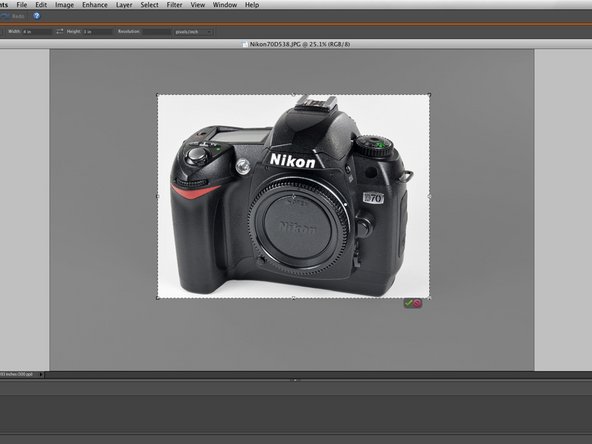
The last step is to crop your picture to a 4:3 aspect ratio. Dozuki guides will not accept images of a different ratio.
-
A key to cropping photos is to make sure that the subject of the photo is large enough, while also not so large that it overpowers the picture area. For example, the first picture is cropped too tightly as many edges contain very little white space.
-
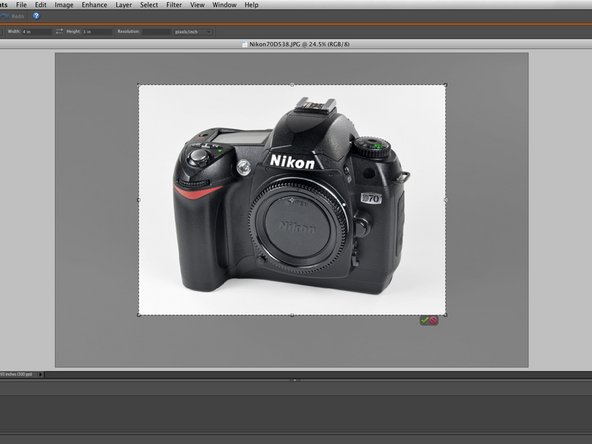
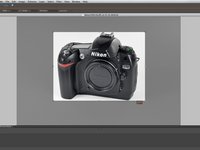
The second picture has correct vertical margins, but it has incorrect centering.
-
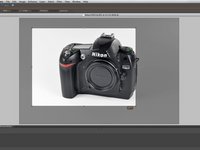
The third picture shows a correct picture crop, as there is some white space around the centered subject.
-
-
-
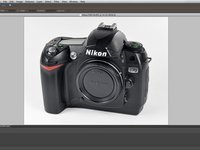
Nicely edited photos such as this add a professional look to your guides. Moreover, well-processed photos complement your text instructions and eliminate imperfections that distract users.
-